Deploying your First Honeypot
This example covers how to build and deploy an example Cowrie honeypot and connect it to a running CommunityHoneyNetwork server for collection of data.
Prerequisites
Please visit prerequisites for honeypot related requirements.
If you have not yet deployed CHN Server, please deploy a server using these instructions before proceeding.
Deploying Cowrie
As an example, we'll deploy Cowrie with SSH listening on port 2222, and a telnet server on port 23. This will serve as an example for creating a honeypot, registering a new honeypot with the management server, and capturing attack data. For more details on deployment options for Cowrie, see the full CHN Cowrie Documentation.
If you haven't yet setup a management server, follow the CHN Server Install
Log into the management server and browse to the "Deploy" tab. Once in the Deploy section, select the drop-down box (default is "New Script") and choose the "Ubuntu - Cowrie" option.
Next, select the Architecture from the drop down menu.
- Select ARM for ARM-based devices such as Raspberry Pi or ODroid
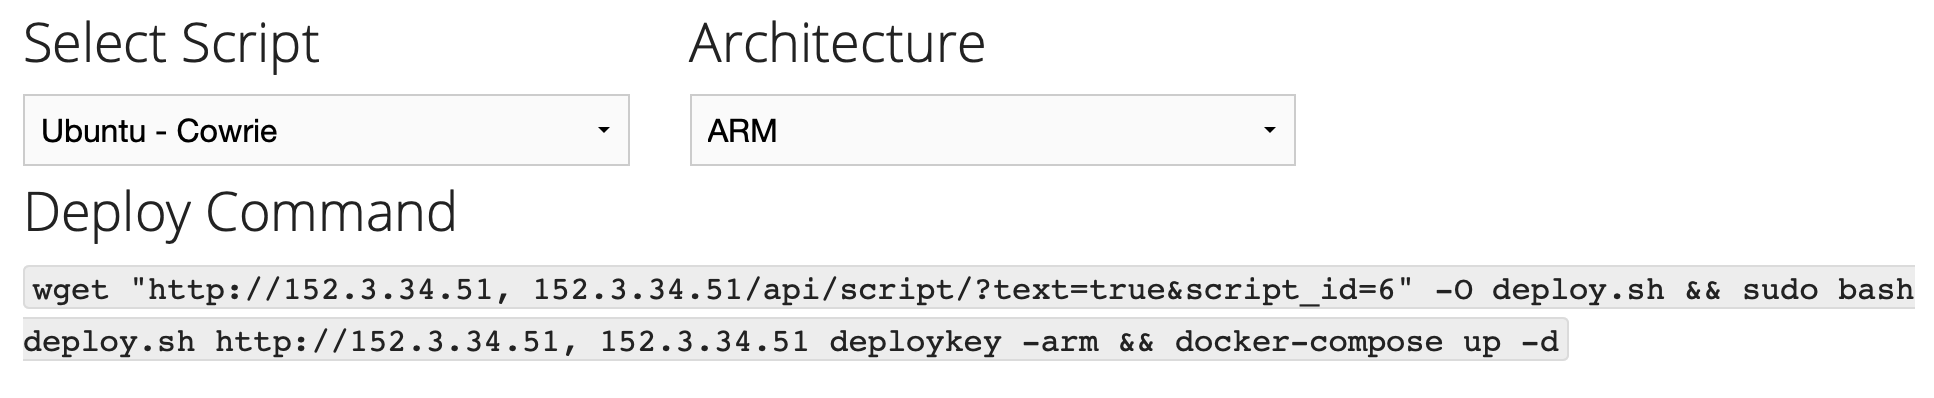
- Select Intel for any 64-bit Intel-based devices
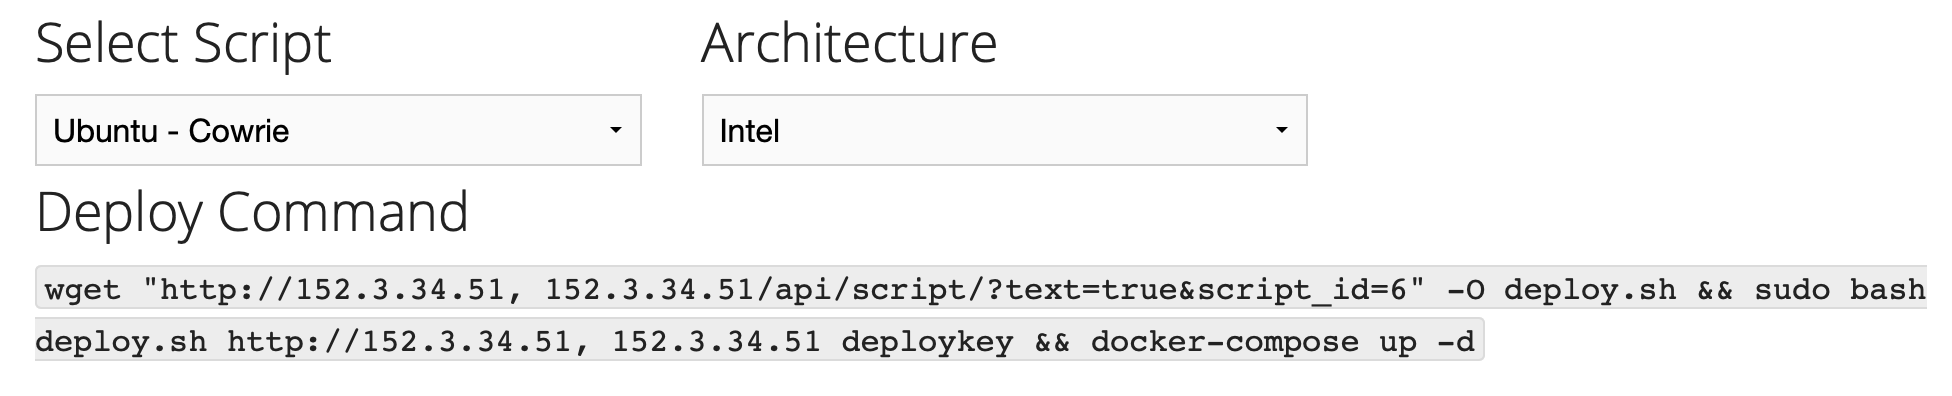
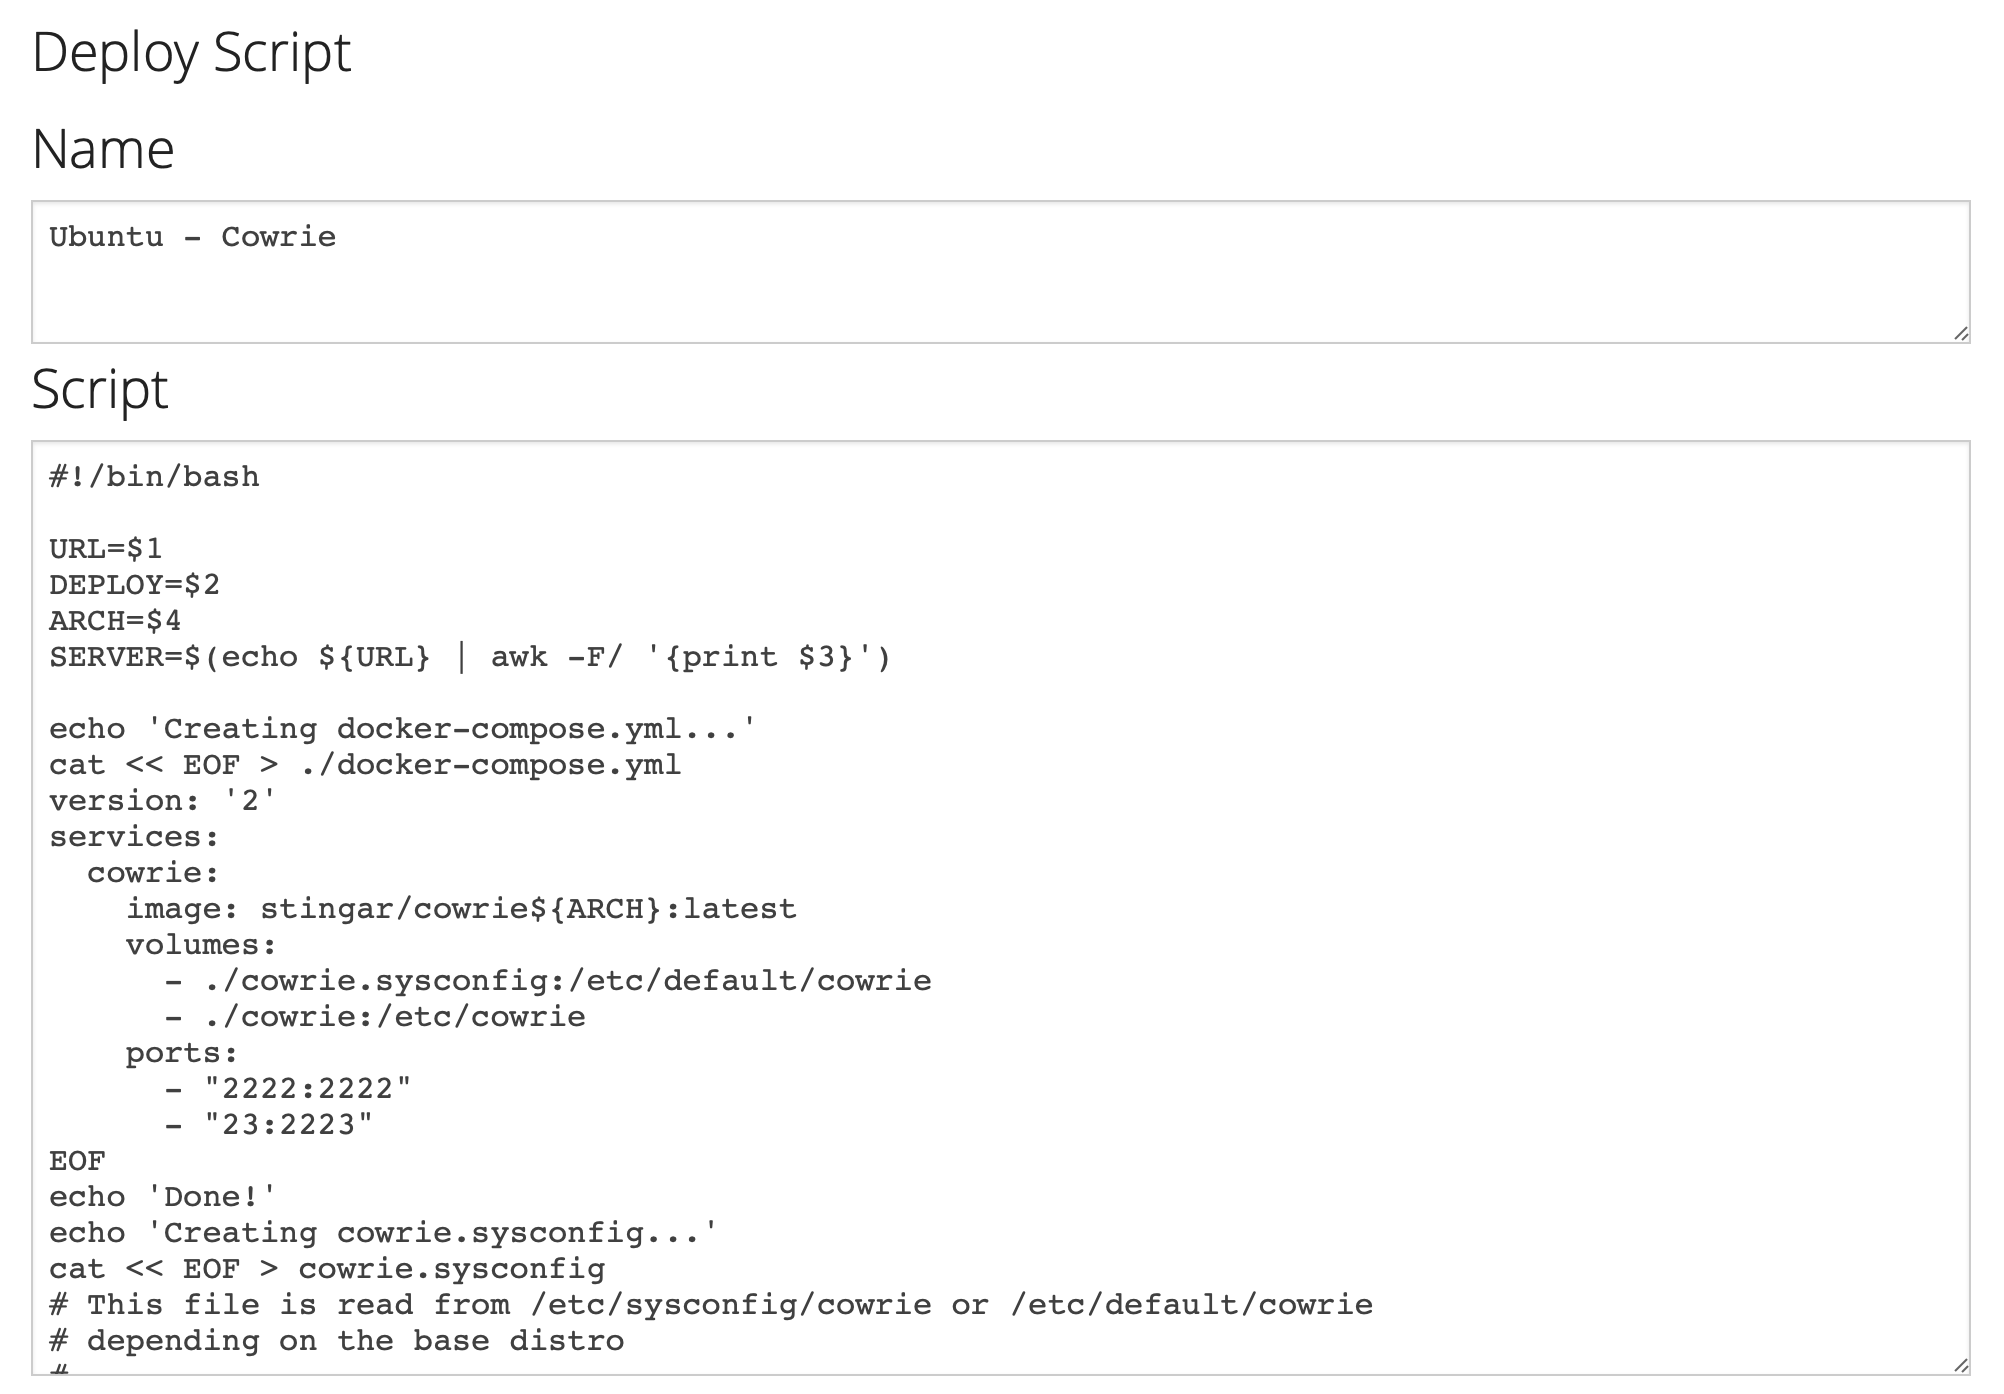
Once you've selected the "Ubuntu - Cowrie" script, the page will populate with 2 sections; "Deploy Command" (above) and "Deploy Script" (below):
Copy the "Deploy Command" section and paste the command into a terminal window on your honeypot host.
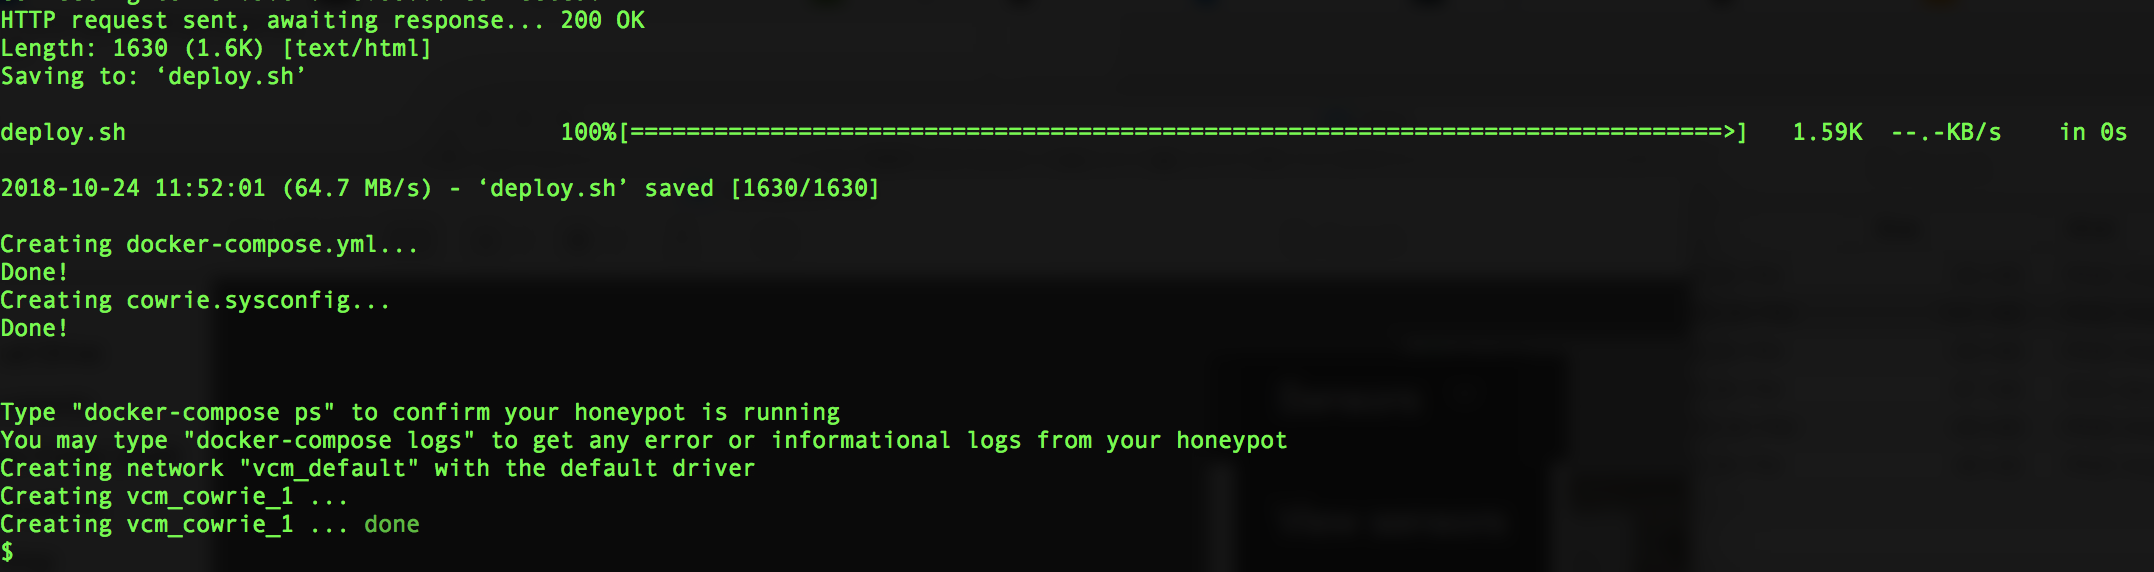
This command will download the script shown in the "Deploy Script" section, execute it, and start the honeypot in the background. The script installs a docker-compose.yml file that uses the pre-built cowrie image from hub.docker.com, and and a cowrie.sysconfig file setting required options.
You can verify the honeypot is running with docker-compose ps:
         Name               Command         State                      Ports
--------------------------------------------------------------------------------------------
cowrie_cowrie_1   /code/entrypoint.sh   Up      0.0.0.0:2222->2222/tcp, 0.0.0.0:23->2223/tcp
Your new honeypot should show up within the web interface of your management server under the Sensors tab, with the hostname of the container and the UUID that was stored in the cowrie.json file during registration. As it detects attempts to login to it's fake SSH client, it will send this attack info to the management server.
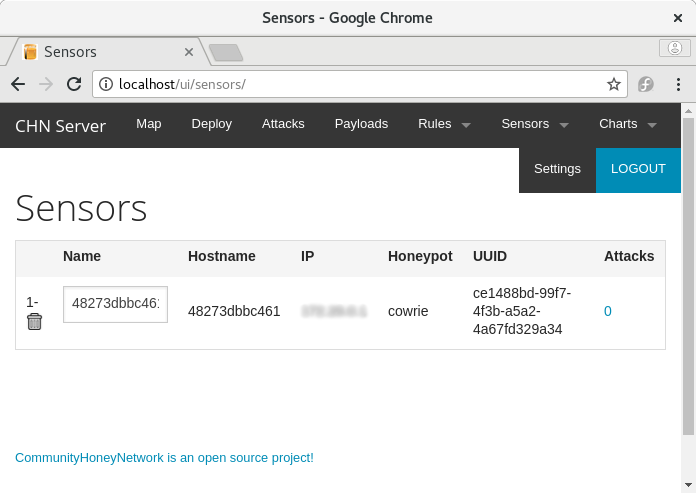
Above: A containerized sensor registered to the managment server
You can now test the honeypot logging by trying to log into the false ssh client running on port 2222:
$ ssh <ip.of.your.honeypot.host> -P 2222
Attacks logged to your management server will show up under the Attacks section in the web interface.
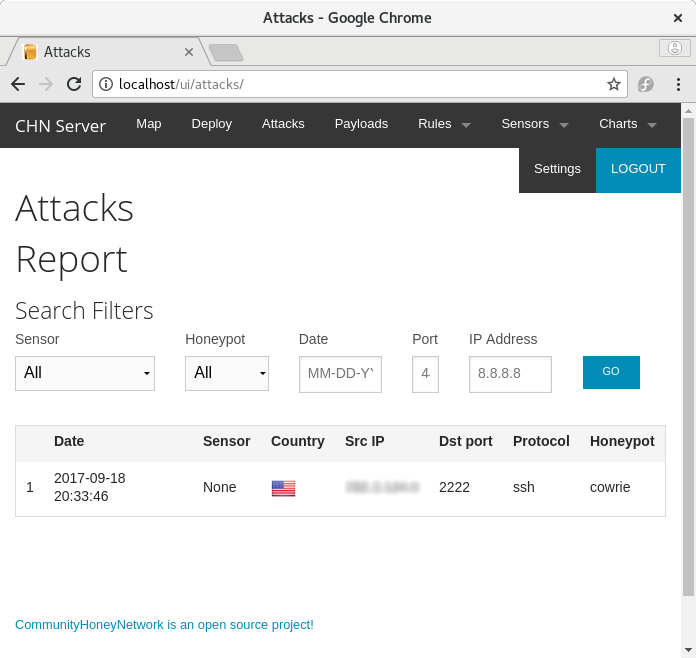
Above: The Attack Report page of the management server, showing a logged hit to the Cowrie honeypot
The honeypot can be stopped by running docker-compose down from the directory containing the docker-compose.yml file.
Troubleshooting
- If cowrie is unable to register with the management server, make sure your host can communicate with the management server on port 80, or 443 if using SSL (check host and network firewall rules, etc), as well as hpfeeds on port 10000.
Running cowrie on port 22 or port 23
This is covered in the Cowrie configuration section